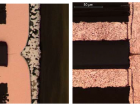
The objective of thermal cycling testing is to determine the ability of parts and solder interconnects to resist extremely high and low temperatures, as well as their ability to endure cyclical exposures to extreme temperatures. Permanent changes to the electrical or physical characteristics of the devices under test that compromise their long or short term reliability can result from the effect of thermal induced mechanical stresses.
Thermal mismatch of materials can cause, among other things, solder joint cracking, hermetic seal failures and damage to leads and markings.
Cycling rates and other test conditions for components, boards, solder interconnects and/or tin whiskers evaluation can be specified. Operating and storage temperature limits to be considered are those specified by the manufacturer.
Thermal cycling is carried out on non-polarized parts within extreme storage temperatures, which in absolute terms exceed the operating temperatures. Alternatively, wider temperature ranges can be selected if the test purpose is validation of the parts ability to survive under certain conditions which exceed their maximum rating.
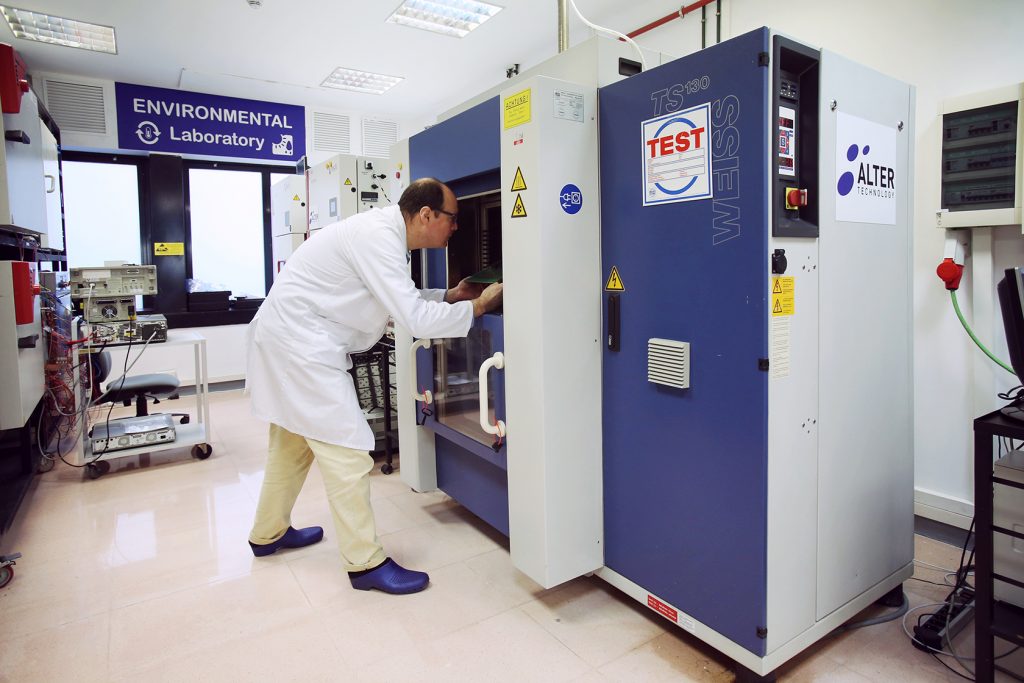
The test chamber is capable of providing and controlling the specified temperatures in the working zones. Parts are placed in such a position with respect to the airstream that there is substantially no obstruction to the air flow across and around the part. When special mounting is required, it should be specified.

The tested devices are subjected to a certain number of thermal cycles in order to predict and evaluate their resistance to undesirable effects such as the following:
- Cracking or fracture of materials or assemblies due to dimensional changes caused by thermal expansion or contraction
- Short circuiting of electrical wiring
- Overheating of materials or assemblies due to change in convection heat transfer characteristics
After completion of the final cycle, an external visual inspection of the marking is performed in addition to other specified measurements. After subjection to the test, failure of one or more specified end-point measurements or examinations, evidence of defects or damage to the case, leads, or seals or illegible markings is considered a failure.
- Scanning Acoustic Microscopy on Ceramic Capacitors - 18th May 2020
- Non-destructive detection of micrometric internal features within EEE microelectronic systems. - 3rd September 2019
- Acoustic Inspection of Hybrid Systems on Laminated Substrates - 3rd September 2019


